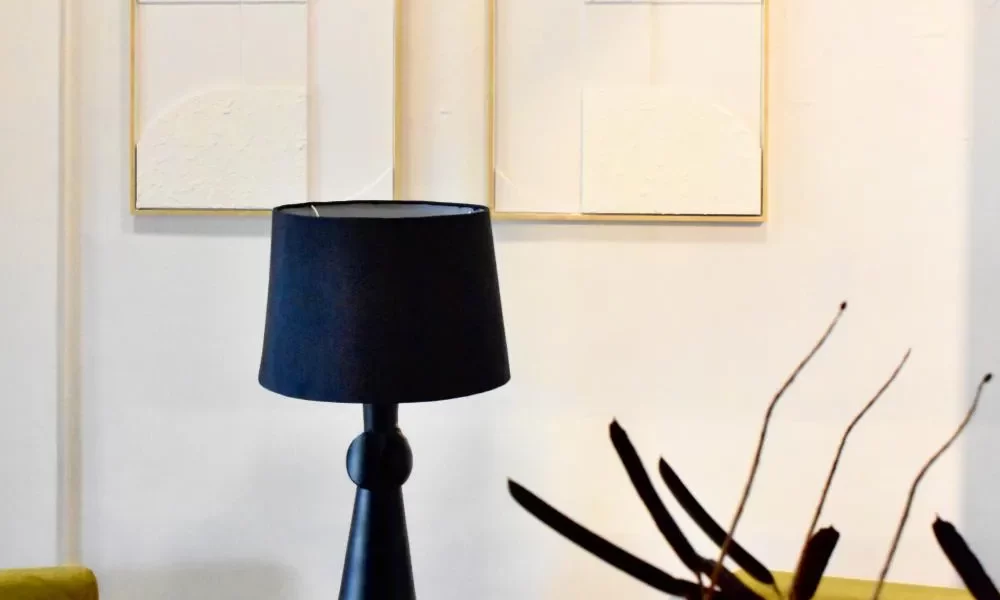
In a world dominated by mass-produced items, there’s a unique joy in creating something with your own hands. One such project that combines creativity and functionality is crafting your own custom table lamp. Not only does it allow you to express your personal style, but it also provides a sense of accomplishment when you see the final product illuminating your space. This step-by-step guide will take you through the process of designing and assembling your very own table lamp, from selecting materials to adding the finishing touches.
Materials and Tools
Before diving into the crafting process, gather the necessary materials and tools. You’ll need a lamp base (wood, ceramic, or metal), a lampshade frame, fabric for the lampshade, adhesive, a lamp kit (socket, cord, and plug), a bulb, a screwdriver, pliers, scissors, a ruler, and a pencil. Choose materials that complement your décor and match your personal aesthetic.
Design and Planning
Start by envisioning the design of your table lamp. Sketch out your ideas on paper, considering the lamp’s overall shape, size, and style. Think about how the lamp will fit into your space and whether it will serve as a focal point or a subtle accent. Plan the dimensions of the lampshade and the height of the lamp base. This planning phase will help you make informed decisions as you progress.
Constructing the Lampshade
- Frame Selection: Choose a lampshade frame that suits your design. These frames are available in various shapes and sizes. Attach the frame to the lampshade’s top ring using adhesive.
- Fabric Selection: Measure the dimensions of the frame and add a few extra inches to the width and height. This will ensure that the fabric covers the frame adequately. Cut the fabric according to your measurements.
- Attaching the Fabric: Apply adhesive to the frame’s vertical supports and carefully press the fabric onto the adhesive. Smooth out any wrinkles or folds as you go along. Trim any excess fabric.
- Fitting the Lampshade: Once the adhesive has dried, gently attach the lampshade to the base ring. Ensure that it sits securely and evenly.
Assembling the Lamp
- Preparing the Lamp Base: If your mushroom lamp base is unfinished or needs painting, now is the time to do so. Let it dry completely before proceeding.
- Wiring the Lamp: Follow the instructions provided in the lamp kit. Generally, you’ll need to thread the cord through the lamp base, attach the socket, and secure the wires using a screwdriver and pliers. Connect the plug to the other end of the cord.
- Attaching the Lampshade: Carefully place the lampshade over the socket and base. Adjust it to ensure it sits straight and secure it in place.
Finishing Touches and Safety
Before plugging in and enjoying your custom lamp, double-check the wiring to ensure everything is secure. Insert a light bulb of your choice, taking care not to exceed the recommended wattage. Finally, find the perfect spot for your creation, basking in the warm glow of your handcrafted masterpiece.
Crafting your own custom table lamp is a gratifying experience that allows you to infuse your living space with your unique personality. As you see your creation light up your room, you’ll be reminded of the time and effort you invested in designing and assembling this functional piece of art. With the satisfaction of creating something with your own hands, you’ll likely find yourself inspired to embark on more DIY projects, adding a touch of homemade charm to your surroundings. So go ahead, let your creativity shine, and illuminate your world with a lamp that’s as exceptional as you are.


